Engraving fine details with a ball nose end mill is a skill that combines precision, technique, and the right tools. As a trusted supplier of ball nose end mills, I've witnessed firsthand the transformative power of these cutting tools in the hands of skilled craftsmen and manufacturers. In this blog post, I'll share some insights and tips on how to achieve exceptional results when engraving fine details using a ball nose end mill.
Understanding the Ball Nose End Mill
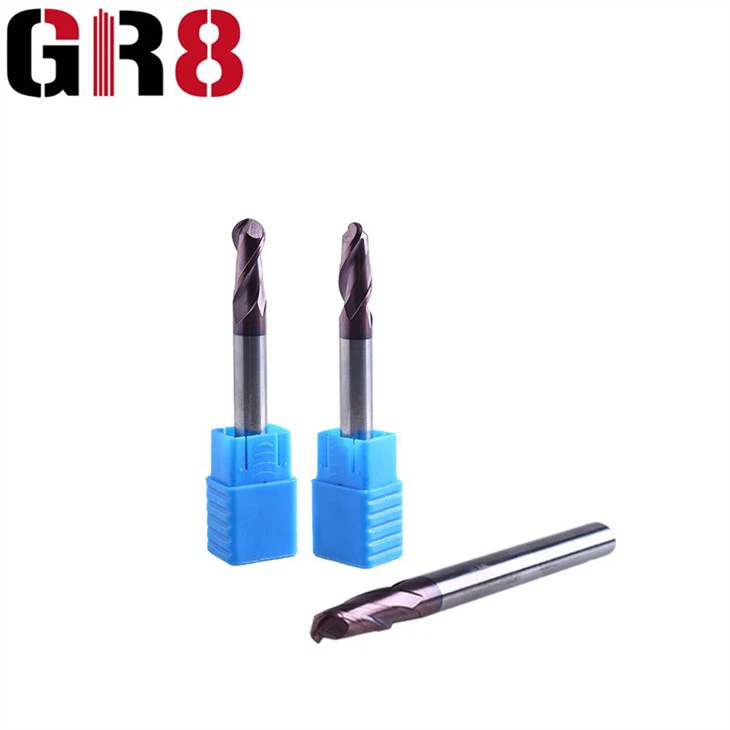
Before delving into the engraving process, it's essential to understand the unique characteristics of a ball nose end mill. Unlike traditional flat end mills, ball nose end mills have a rounded tip that allows for smooth, continuous cutting along curved surfaces. This makes them ideal for creating intricate details, 3D contours, and freeform shapes in a variety of materials, including wood, metal, plastics, and composites.
Ball nose end mills come in a range of sizes, flute configurations, and coatings to suit different applications and materials. For engraving fine details, smaller diameter ball nose end mills are typically preferred, as they offer greater precision and control. Additionally, end mills with a higher number of flutes can provide smoother finishes and reduce chatter, resulting in cleaner and more accurate engravings.
Choosing the Right Ball Nose End Mill
Selecting the appropriate ball nose end mill for your engraving project is crucial for achieving the desired results. Here are some factors to consider when choosing a ball nose end mill:
- Diameter: The diameter of the ball nose end mill will determine the size of the details you can engrave. Smaller diameter end mills are better suited for fine details, while larger diameter end mills are more appropriate for roughing and larger-scale engraving.
- Flute Configuration: Ball nose end mills are available with different flute configurations, including 2 flutes, 4 flutes, and more. 2 Flutes Ball Nose End Mill are typically used for general-purpose engraving and offer good chip evacuation, while 4 Flutes Ball Nose End Mill provide smoother finishes and are ideal for high-speed machining and finishing operations.
- Coating: Coatings can enhance the performance and durability of ball nose end mills by reducing friction, improving wear resistance, and increasing heat dissipation. Common coatings include TiN (Titanium Nitride), TiAlN (Titanium Aluminum Nitride), and DLC (Diamond-Like Carbon).
- Material: The material of the workpiece will also influence your choice of ball nose end mill. Different materials require different cutting speeds, feeds, and tool geometries to achieve optimal results. For example, harder materials may require end mills with a higher cutting edge hardness and a more aggressive geometry, while softer materials may benefit from end mills with a smoother cutting action.
Preparing the Workpiece
Proper preparation of the workpiece is essential for successful engraving. Here are some steps to follow:
- Clean the Workpiece: Remove any dirt, debris, or contaminants from the surface of the workpiece to ensure a clean and smooth cutting surface.
- Secure the Workpiece: Use a vise, clamps, or other appropriate fixtures to securely hold the workpiece in place during the engraving process. This will prevent movement and ensure accurate and consistent results.
- Mark the Engraving Area: Use a scribe, marker, or other marking tool to clearly define the area where you will be engraving. This will help you stay on track and ensure that your engraving is centered and aligned correctly.
Setting Up the CNC Machine
If you're using a CNC machine for engraving, proper setup is crucial for achieving accurate and consistent results. Here are some steps to follow:
- Install the Ball Nose End Mill: Carefully install the ball nose end mill in the collet or tool holder of the CNC machine. Make sure the end mill is securely tightened and aligned correctly.
- Zero the Machine: Use the machine's zeroing function to set the X, Y, and Z coordinates to the starting point of your engraving. This will ensure that the machine knows where to start cutting and will help you achieve accurate and consistent results.
- Set the Cutting Parameters: Adjust the cutting speed, feed rate, and depth of cut based on the material of the workpiece, the diameter and flute configuration of the ball nose end mill, and the desired engraving depth and finish. Refer to the manufacturer's recommendations or use a cutting parameters calculator to determine the appropriate settings.
Engraving Techniques
Once you have chosen the right ball nose end mill, prepared the workpiece, and set up the CNC machine, it's time to start engraving. Here are some techniques to help you achieve fine details:
- Use a Slow Feed Rate: When engraving fine details, it's important to use a slow feed rate to ensure precise control and prevent the end mill from breaking or chipping. A slower feed rate also allows the end mill to remove material more gradually, resulting in a smoother and more accurate engraving.
- Take Light Cuts: Instead of trying to remove a large amount of material in a single pass, take multiple light cuts to gradually build up the depth of the engraving. This will help prevent the end mill from overloading and reduce the risk of breakage.
- Use a Climb Milling Strategy: Climb milling, also known as down milling, involves cutting in the same direction as the rotation of the end mill. This technique can provide smoother finishes and reduce the risk of tool wear and breakage.
- Control the Spindle Speed: The spindle speed of the CNC machine should be adjusted based on the diameter and material of the ball nose end mill. A higher spindle speed can help improve cutting performance and reduce the risk of heat buildup, but it's important to avoid exceeding the maximum recommended speed of the end mill.
Finishing and Polishing
After engraving, you may want to finish and polish the engraved surface to enhance its appearance and smoothness. Here are some techniques to consider:
- Sand the Engraved Surface: Use a fine-grit sandpaper to gently sand the engraved surface to remove any rough edges or burrs. Start with a coarse grit sandpaper and gradually work your way up to a finer grit for a smoother finish.
- Polish the Engraved Surface: Apply a polishing compound or wax to the engraved surface and use a soft cloth or polishing pad to buff it to a shine. This will help enhance the appearance of the engraving and protect it from corrosion and wear.
Troubleshooting Common Issues
Even with the best preparation and techniques, you may encounter some common issues when engraving fine details. Here are some solutions to common problems:
- Chipping or Breaking of the End Mill: If the ball nose end mill is chipping or breaking, it may be due to a dull or damaged end mill, excessive cutting forces, or incorrect cutting parameters. Replace the end mill with a new one, adjust the cutting parameters, or reduce the feed rate and depth of cut to prevent further damage.
- Chatter or Vibration: Chatter or vibration during the engraving process can result in a rough or uneven finish. This may be caused by a loose or misaligned end mill, excessive cutting forces, or a lack of rigidity in the machine or workpiece. Check the alignment and tightness of the end mill, adjust the cutting parameters, or use a vibration-damping tool holder to reduce chatter and vibration.
- Poor Surface Finish: If the engraved surface has a rough or uneven finish, it may be due to a dull or damaged end mill, incorrect cutting parameters, or a buildup of chips or debris in the cutting area. Replace the end mill with a new one, adjust the cutting parameters, or use a coolant or lubricant to flush away chips and debris and improve the surface finish.
Conclusion
Engraving fine details with a ball nose end mill requires precision, technique, and the right tools. By choosing the appropriate ball nose end mill, preparing the workpiece, setting up the CNC machine correctly, and using the right engraving techniques, you can achieve exceptional results and create intricate and detailed engravings in a variety of materials.

As a supplier of high-quality ball nose end mills, we are committed to providing our customers with the best products and support to help them achieve their engraving goals. If you have any questions or need assistance choosing the right ball nose end mill for your project, please don't hesitate to contact us. We look forward to working with you and helping you take your engraving to the next level.
References
- Groover, M. P. (2010). Fundamentals of Modern Manufacturing: Materials, Processes, and Systems. John Wiley & Sons.
- Stephenson, D. A., & Agapiou, J. S. (2006). Metal Cutting Theory and Practice. CRC Press.
- Trent, E. M., & Wright, P. K. (2000). Metal Cutting. Butterworth-Heinemann.


